Showing posts with label paint. Show all posts

Tuesday, March 13, 2012

Freshened Up Foyer


Once again, never-satisfied-itis has struck. And once again I blame it on a picture:

Maybe yellow doesn't photograph well, or maybe I'm just hard to keep pleased. If you remember, yellow was not the FIRST color the foyer was painted. It started in 2009 as red.

As I tweaked my color scheme from predominately yellow and red to blue and red (you can see changes in the living room and dining room)that yellow began to feel even more and more wrong. Plus looking at that picture above, nothing seemed to come together with that yellow as the background.

I decided to go with the darkest blue from the Wythe Blue swatch that I used on the back of my built ins. I think I did it on a Saturday afternoon all with a paint brush. I just a brush for several reasons. I first was just going to "check" and see if I liked the blue color, but mainly I was just too lazy to drag out a tray and roller.

If you remember, I had practically just installed this vinyl over the mirror

and of course after I FINALLY choose a spot for it, I decide to paint a different color. I just left the vinyl on the wall and painted over it. I peeled the vinyl off and I was planning on repainting it black, but I liked the light color peeking through.

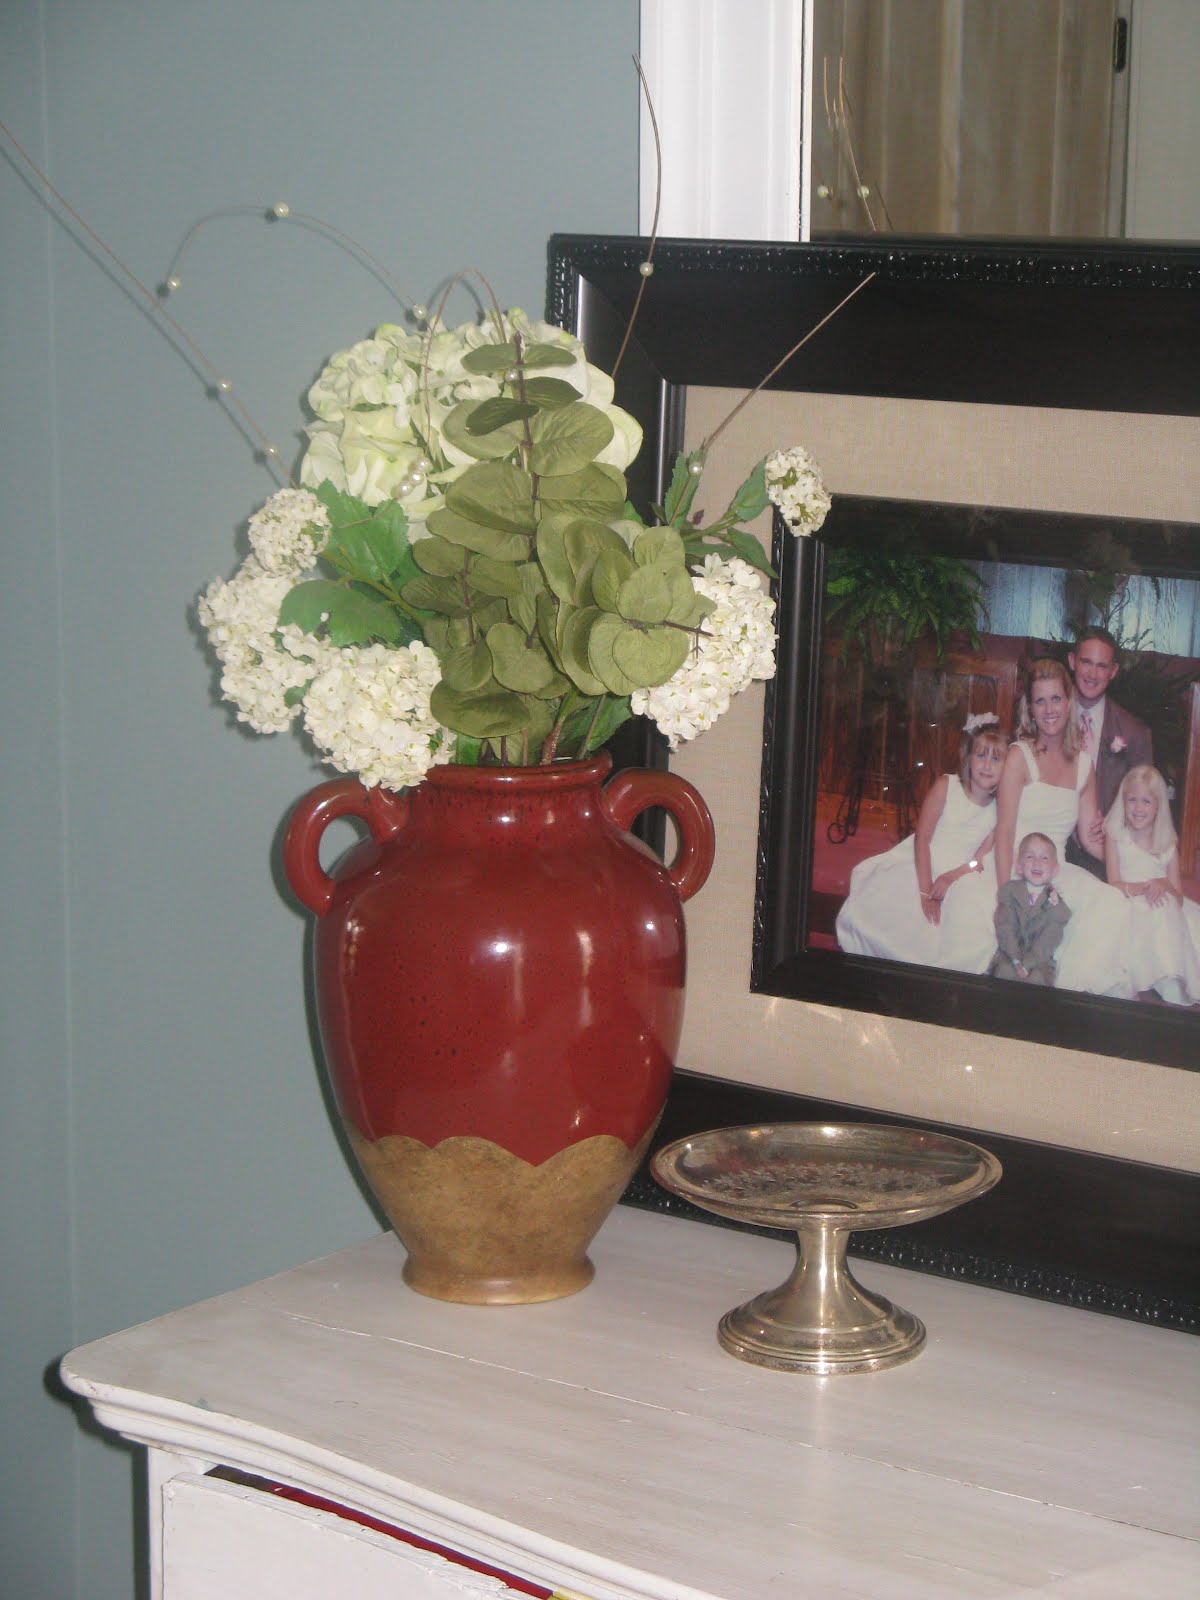
Here is the new improved foyer--let's hope I like they way it looks in these pictures because I'm running out of color choices to paint it!

Hubby has been setting all his "trooper gear" on the dresser in the foyer. That more than kinda drives me crazy. So I hung his hat on my bird hooks--kind of a juxtaposition huh? (I have to admit I am HORRIBLE about leaving stuff all over the place. I walk in the door and things just end up all over the place, but I'm the only one who's allowed to do that-right?)


Yes, Toto had to get into the picture. He thinks everything is all about him.
Well, looking back at these pictures, the foyer is safe...for today at least!

Monday, March 12, 2012

Stripes for Little Man

Here is another reveal from my "Teasers" post. I've shown you "Pops of Green" and the "Orange Yoda."
This is the shot I teased you with:

This is a drop cloth I was bleaching. Because I have a front load washer, I don't think I can bleach it in there so I fill the bathtub, add some bleach and soak it for awhile.

After I bleached it and washed it, I measured the length I wanted and cut it down to size. I spread the cloth out on my bedroom floor and taped off stripes.
I was concerned about keeping the stripes level so I just used a piece of paper that was about the width I wanted the stripes to be and used that to help me mark off the stripes. I put small pieces of tape where I didn't want to paint because I knew it would get confusing once I started painting.

Then I sewed some hems and hung the curtains with simple clips. I love how they turned out!
They are perfect with Orange Soda--I mean Yoda!
Here are some shots of the curtains in Little Man's room:

Monday, March 5, 2012

Orange You Painted Me


This was the shot that I teased you with. I've been working on Little Man's room and I saw this on Pinterest and was inspired.


I finished this just in time for The CSI Project's "Pinterest Week!"
Visit thecsiproject.com
Come by and see other "pin-worthy" projects.
In the meantime...

I found a couple pictures on google and I saved them:


A few weeks ago, Hubby and I wandered around Hobby Lobby and I thought outloud about how I would pull this off--cheaply. We looked at frames, but I wanted it to be HUGE and I couldn't find a frame that was both big enough and not a million dollars.

Then I happened to see some huge canvases on the back wall. I looked at them-they would be about $50. By this time hubby and I had split up (in the store, not IRL). So I went looking for him thinking if that price would be worth it.


Then I saw IT.


A even huger piece of foam core-for $10!! That was the winner!

Next step was to go to school so I could blow the picture up on my projector. I couldn't get it big enough with the projector so I printed out the picture and used an opaque projector. (Yes, that is so very old school, but they are still the bomb!) It cracks me up the "young whipper snappers" have no idea what an opaque projector is! This worked wonderfully!

I used my "Laker" director's chair to prop the board up to the right height and traced around the design with pencil. I wasn't sure which picture I liked better so I did what any


"never satisfied" girl would do.


I traced Yoda on one side and Darth on the other.
I took a pillow case to Lowe's and picked out two paint colors. I had visions of painting the silhouette orange. I propped it up on the fireplace and got to work. Of course hubby had to make some comments about how orange paint would look on the carpet, but I didn't drip any.

Here is the finished product in Little Man's room. I just used 3M velcro strips to hold it up. I won't lie, the paint made the board bow a little bit, but I just put more strips to hold it to the wall.


What about Darth you ask?

I painted him gray. He is on the back. I let Little Man pick his favorite side and he chose Yoda. Later on, maybe we can switch sides and show Darth off!

I'm also going to join up at Savvy Southern Style for her weekly "Wow Us Wednesday". It's been awhile before I've actually done anything "Wow worthy," but I'm pretty please with orange Yoda!
I'm also joining over at Addicted 2 Decorating-cause frankly I am!
Finally, I'm at Tater Tots and Jello for the Weekend Wrap Up party! I'm a party hopping girl!

Monday, February 20, 2012

Teasers

I have about 12 different projects going on right now and none of them are completed enough to show all the details. And I can't even fake it by shoving all the unsightly stuff out of camera view. You will just have to wait a little bit longer. But to get your creative minds working here are some sneak peaks at all I have going on.


These pictures represent about 6 individual posts. Plus I have about 2 additional posts from things that have been going on today. Just to give you a hint, with 3 kids I can't work in just one room. The other punks always want to butt their heads in and come with ideas for their own rooms.


I'll have the big post for the first picture later this week. Let's just say Pinterest was my inspiration and it turned out better than I thought it would! (Is that enough of a teaser to bring you back?) BTW how has Pinterest inspired you?


Tuesday, July 26, 2011

Pin it Up

**Disclaimer: My camera is broken. I never took that great of pictures anyway, but now I'm in real trouble. All these pictures in this post were taken from my iPhone. Thus, the potential poor quality.**

I'm just going to skip the apologies.
There comes a point when it is just too late to apologize. Kind of like when you are around someone for a long time without ever really knowing their name. After a few months you just can't ask his or her name. You have to go on some kind of reconnaisance mission to find it out.

Anyway.
You all know I love auctions. Duh right?
You also know that I find things that I really have no idea what is going to happen to them. I simply experienced love at first sight.
This is what happened with this little "beauty."


Old frame, cool details, auction atmosphere. It had me at hello.

It is pretty worn out. Very dirty and doesn't have any glass.

My initial plan was to put a family picture in it and hang it in the stairwell.

But it sat in the garage for, goodness, about 3 months.

Then one night it hit me.

Chicken wire and mini clothespins.

I was so excited to get it done. So here goes...


I painted it Stratton Blue by Benjamin Moore.

It is on the same color swatch as my dining room Wythe Blue.

Then I added some glaze to bring out the details in the frame and add more texture to it.


Then I went to Lowe's and bought some chicken wire for like $4 and stapled it to the back of the frame.

I found mini clothespins at Hobby Lobby.

I wanted them to be red (surprise, surprise) but they would be tricky to spray paint. I took them outside and clipped them to some leaves on a tree in the front yard.

Part of my tree now looks like a Japanese maple with its newly painted red leaves. Oh well, fall is around the corner and they will fall off anyway!


I knew I wanted to put it on the side of the fridge because that side faces the living room and I wanted something cute to look at.

I used 3M velcro tapes to stick it to the fridge. (I'm in love with those things. Really. I could do a whole blog post about all the places I've used them in my house. And I'm not getting paid to even say that--hint hint 3M.) This picture you can see just the frame with the red clips.


Now I added all the "stuff."
You know, the stuff that gets stuck up with magnets all over the place?
Oh, well maybe you don't live like that. If I don't want to lose something I stick it on the fridge. Maybe I'm weird.
Anyway, having something cute to put it all on makes it look so much better!


And this is the view I have from the big chair in the living room.

I love it. Hubby thinks it is weird.

He is not loving the chicken wire. But what does he know, he is at the school where you learn to fold your clothes in ridiculously small ways. I think they have messed up his way of thinking-at least where the house is concerned! Not like chicken wire-really, give me a break!

To celebrate my return to blogging, I'm joining in with Savvy Southern Style for "Wow Us Wednesday." Hubby may not have been wowed by chicken wire, but maybe someone else out there will be! Come by and see what else might "wow" you!

By the way, Cinderella is officially gone, but I have a new love that I hope to introduce you to very soon! Don't give up on me. I have a new living room color, repainted fireplace, rearranged sunroom, new furniture piece and a couple tables to show you guys. I promise I have the projects I just can't find the time to sit down and talk about them!

Tuesday, April 26, 2011

A Cinderella Story

Welcome visitors from Miss Mustard Seed! I sure need y'alls help today! Keep reading and see where I need your input!!


I introduced you all to this "lovely" lady last week:


and I issued a challenge to guess the name.


Only 3 of you took me up on it. Nana Diana guessed Veronica. Nope, sorry Nana D.


Robin went with "Swan." Nice try and a good guess but still nope!


The winner was Andrea with Cinderella!


Complete disclosure makes me tell you all that I know Andrea IRL. We actually go to church together, but she has never laid eyes on the future Cinderella, nor did I talk to her about her. She is just super smart and figured out my clues! (Happily Ever After, the shoes??)

Anyway, due to a REALLY bad storm last night resulting in much of the town being without power and no school for anyone (even the university) I was able to get started acting as Cinderella's fairy godmother.

Because she is in such bad shape, I decided to prime her and opt out of the "distressed" look.


The primer is done and I think Cinderella resembles more of herself in her "mouse dress."


You know, better but really not all that great.


Actually, she looks more like Cinderella in the mouse dress AFTER the step-sisters got hold of her.


You know, better but in pieces all over the floor.


"Cindy" is going to have to stay in her primer/mouse dress for a little bit longer, because I'm just not sure what color dress to make her.


White seems the obvious choice, but I want to think about some other options too.


Ya'll have any ideas?


Nana D? Robin? Andrea? Anyone else?


I linked up with Miss Mustard Seed and her Furniture Friday and hopefully some of the talent there can give me some ideas.


(I did have an interesting thought from a reader to try a bold blue-I'm considering it, just a little skeered!!)


As soon as I work some magic of my own, I'll show you her happily ever after!
By the way, Andrea, I'm getting together some goodies for you. If you have any preferences of colors let me know!!

Sunday, April 17, 2011

Impatiently Working Towards Happily Ever After

I'm impatient.

I'm quite sure I have revealed that before though.

Because of that fact, this little diamond in the rough is kind of making me cranky.

Before you read any further you probably also know that I personify a lot of my furniture. Meaning that I name them.


Scarlett? Bluebell?? Well in true psycho-decorator fashion I already have name for this little beast. But I'm not going to tell you yet.


In fact, I am going to make it a competition. Read on... She has lots of issues. Chipped veneer. Moldy drawers. Missing details.


But I see so much potential! Plus she was $15.


Surely for that price I can afford to invest some sweat equity. I started by trying to glue the veneer back on. Epic fail. So I just started chipping it off where it was lose.


I am hoping that paint will cover a multitude of sins. Next step was cleaning it. I started by cleaning it with TSP. Then I pulled the drawers out--YUCK!!!


I'm not a germ-a-phobe but man they were kind of disgusting. I broke out the bleach and cleaned the drawers and the innerds of the dresser. But as I was grossing out, gagging and bleaching the fire out of my hands


(all while wearing heels-no joke. I staying in my church clothes while I did this)


I saw what drew me to dear ____________(ha! you thought I would slip and reveal the name) in the first place.


I'm a sucker for some cute shoes and she is wearing some cute shoes. Now, for the competition part.


Comment me what you think I am naming this dresser (1 guess per person).


I am putting together a little treat bag for the correct response. I don't have it together yet, but I am thinking about a painted dishtowel, a spring button design, and maybe a few other goodies. If more than one person gets it right, I will put your names in a hat and draw the winner.


I'll leave this little contest open until Sunday at 9pm and announce the winner Monday morning.


Let the guessing begin!

LinkWithin

Related Posts with Thumbnails